Quizzes and assignments
There are two ways to ask learners for work. An assessment is a lesson made of questions, with a passing score. A learner response can be added to any ordinary lesson — a written answer, a scanned handwritten page, a file link, or a quick question. Setting up either takes a few minutes.
Before you start
- You need to be signed in to the creator studio as a creator or an organisation admin.
- You need a course with at least one unit — see Organise a course.
Build an assessment
- On the course's Curriculum, press Add in a unit, type a Title, choose the Assessment type and press Add. Then open it from its row.
-
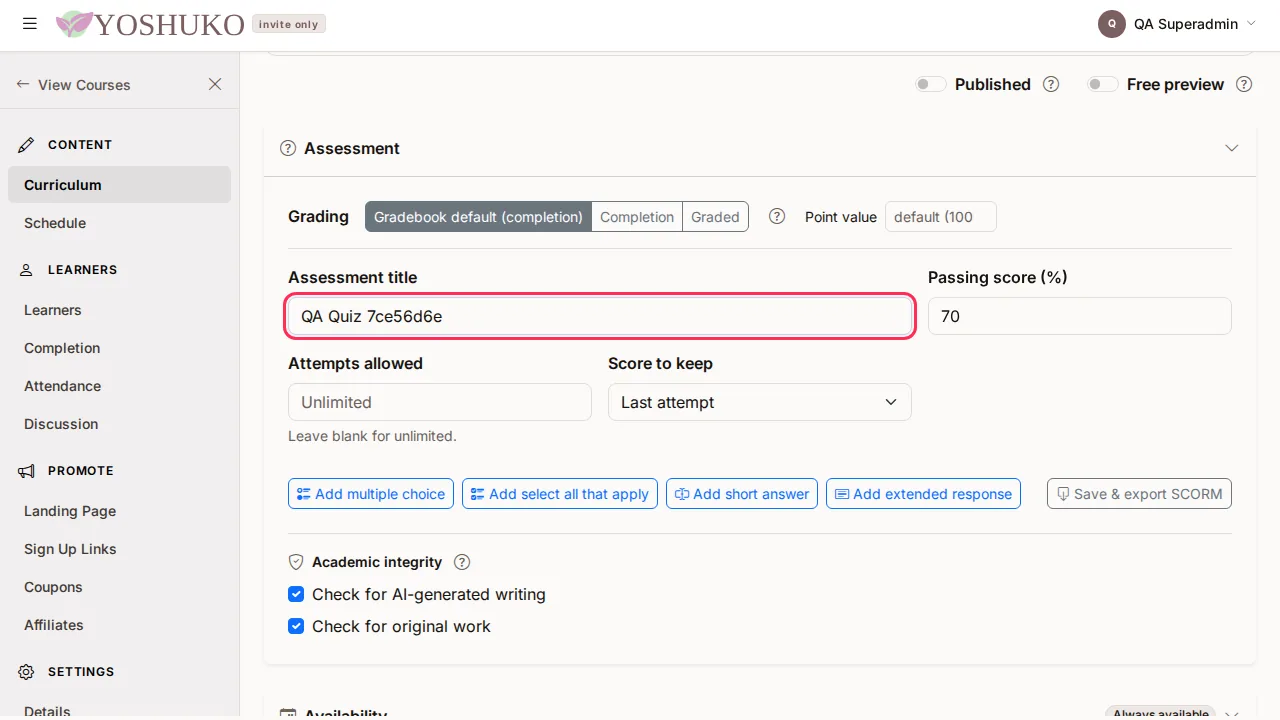
In the Assessment section, fill in:
- Assessment title
- Passing score (%) — 0 to 100.
- Attempts allowed — leave blank for unlimited.
- Score to keep, when learners may try more than once: Last attempt, Highest score or Lowest score.
-
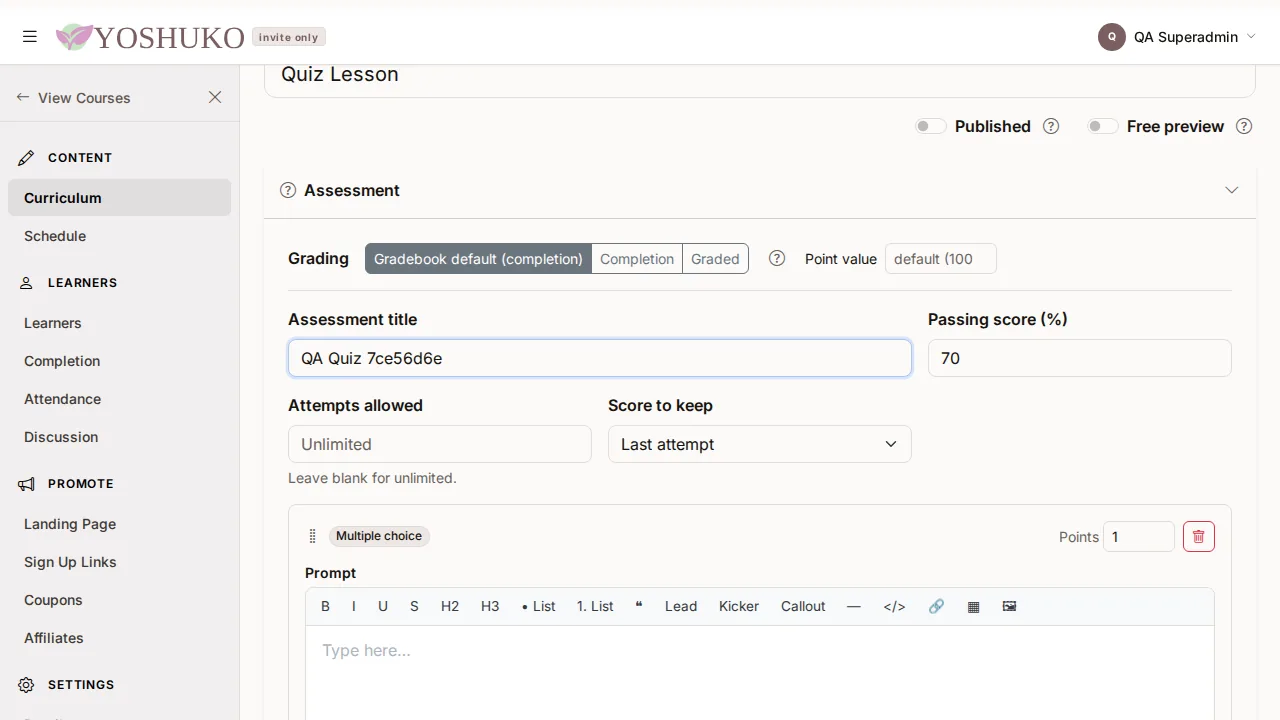
Add questions with the buttons below (see the next section).
-
Press Save Changes.
The four question types
| Button | What the learner does | How it is marked |
|---|---|---|
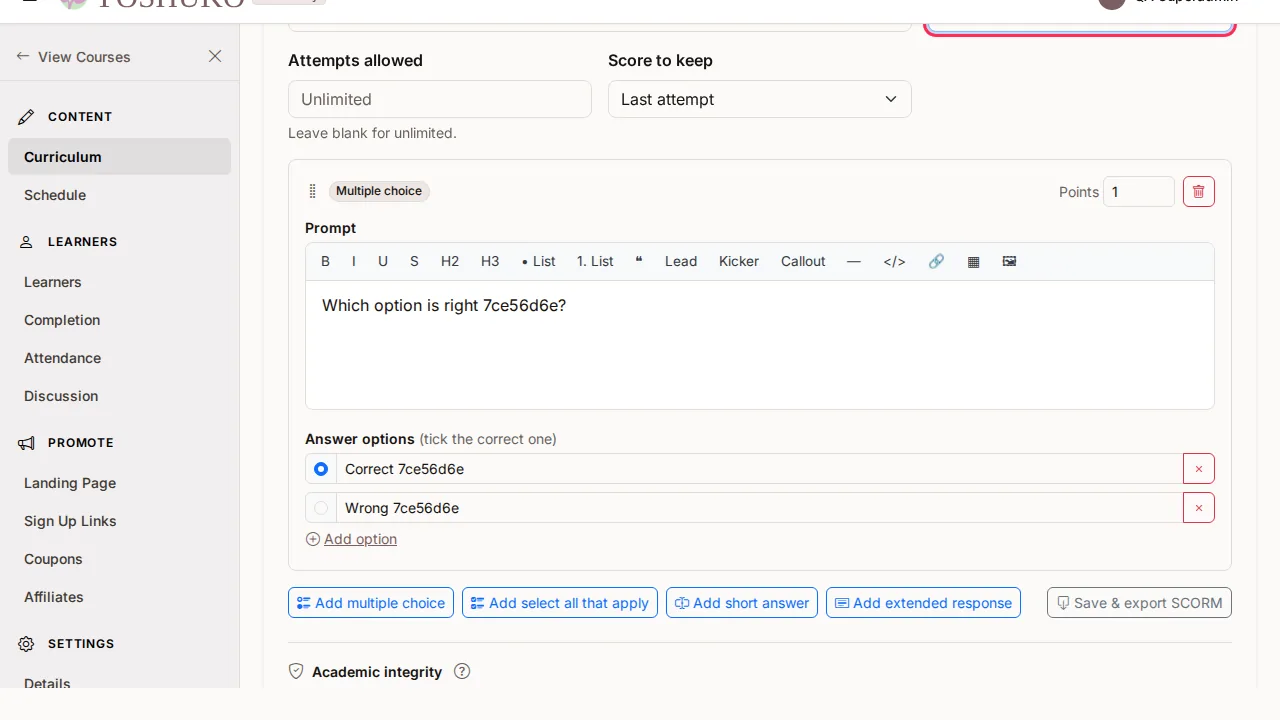
| Add multiple choice | Picks one option | Automatically. Mark the one correct option (Correct answer). |
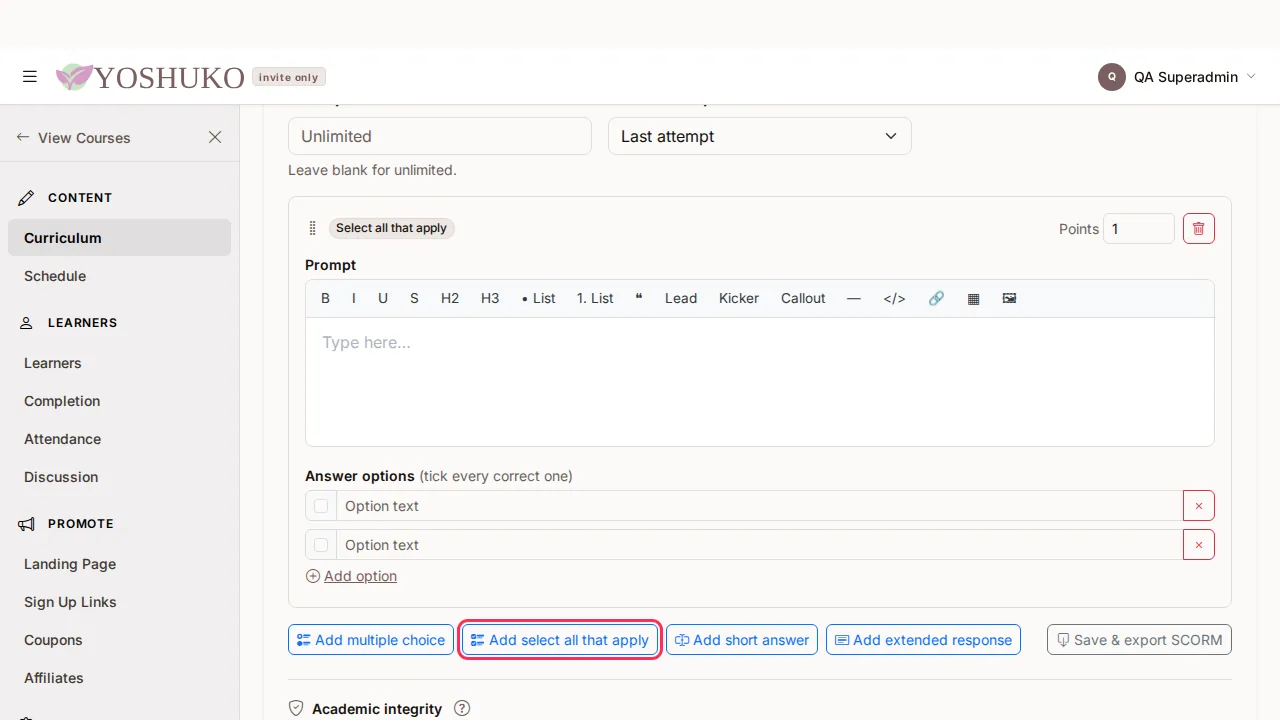
| Add select all that apply | Ticks several options | Automatically, and only full marks for choosing exactly the correct ones — there is no partial credit. |
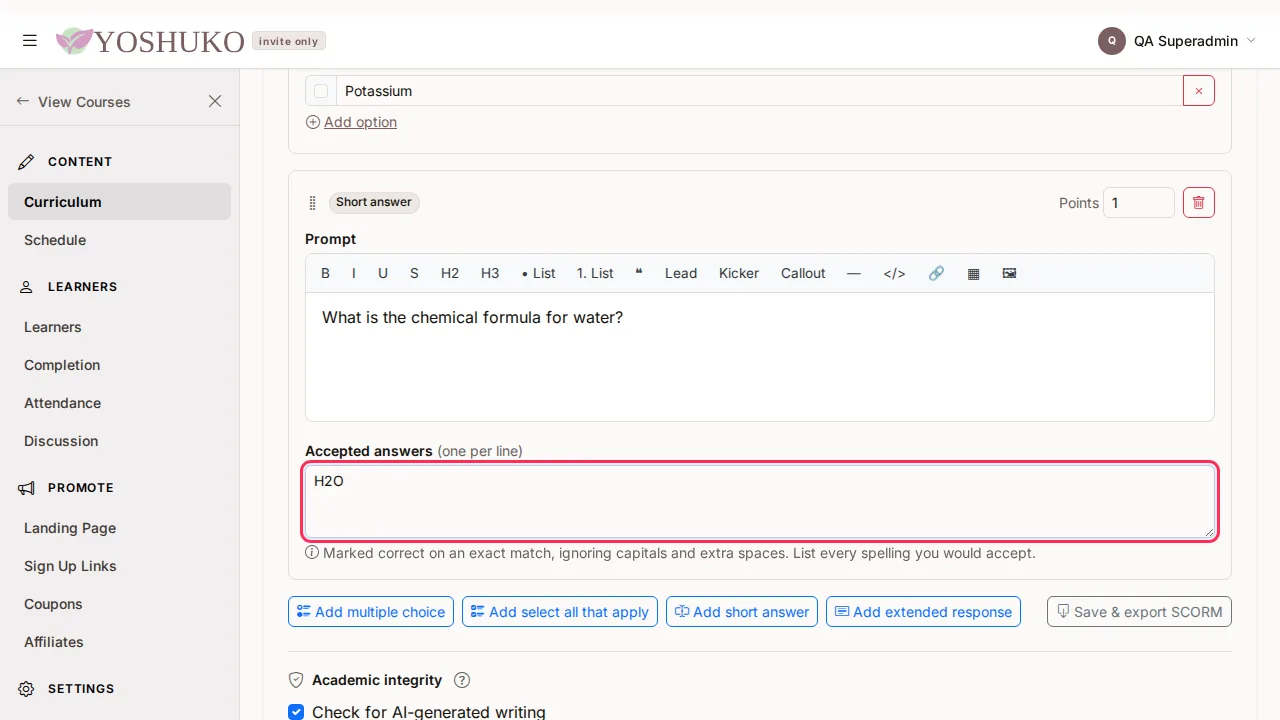
| Add short answer | Types a word or phrase | Automatically. List Accepted answers, one per line. A match ignores capitals and extra spaces, so list every spelling you would accept. |
| Add extended response | Writes a longer answer | By you or by AI grading, against Grading notes / rubric and an optional AI grading prompt. |
Every question has a Prompt and a Points value. Choice questions have Answer options — press Add option for more. Remove a question with Remove question.
Take an assessment to another system
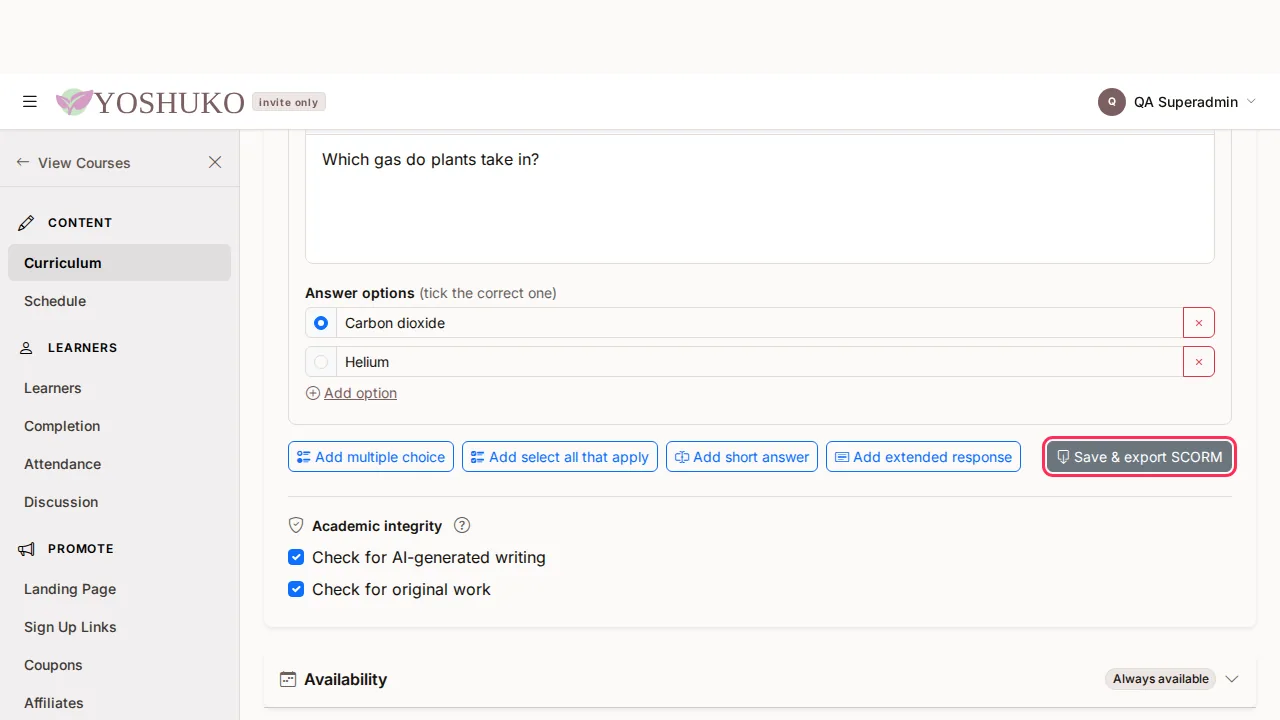
Press Save & export SCORM in the Assessment section. The assessment is saved, then downloaded as a SCORM package you can load into another learning system.
Ask for a response on an ordinary lesson
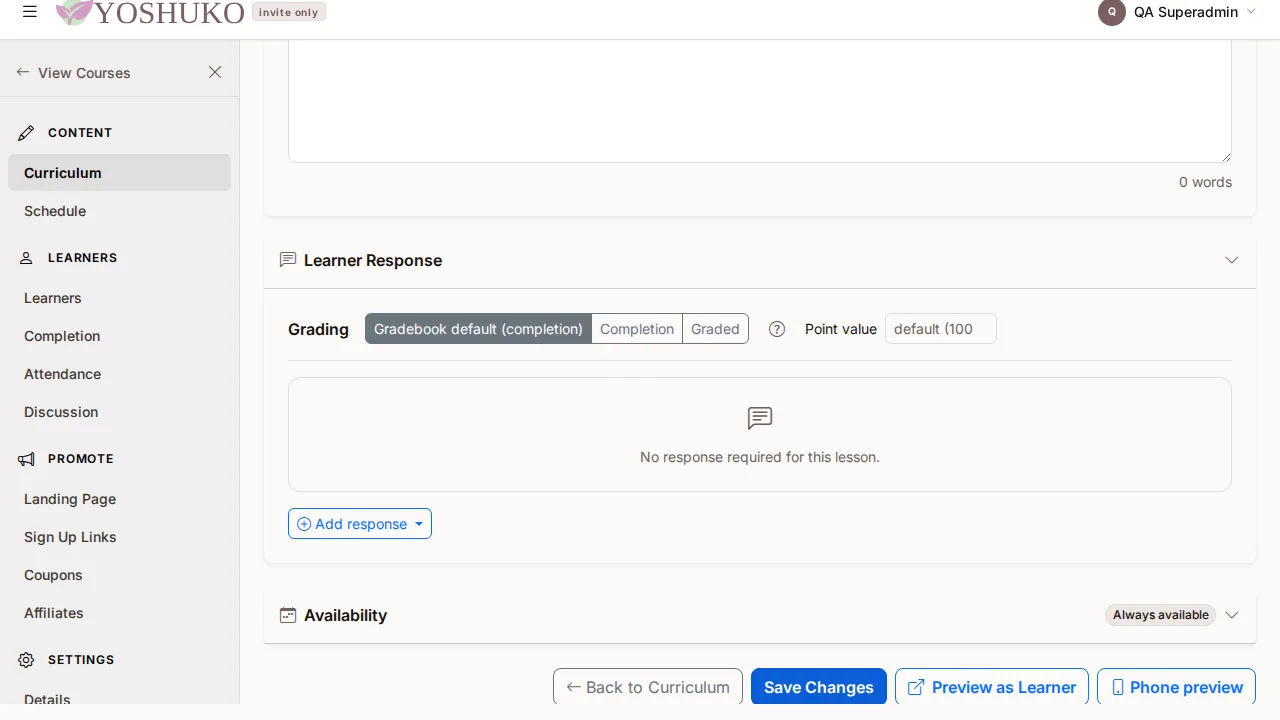
A lesson with no questions shows "No response required for this lesson." in its Learner Response section.
-
Press Add response and choose a kind:
Kind What the learner gives Marked Written response A typed answer AI graded Handwritten Scanned A photographed page written on paper AI graded Multiple choice One correct option Automatically Select all that apply Several correct options — full marks only for all of them Automatically Short answer A typed answer matched to a list Automatically Link to a file A pasted URL By you — not AI gradable 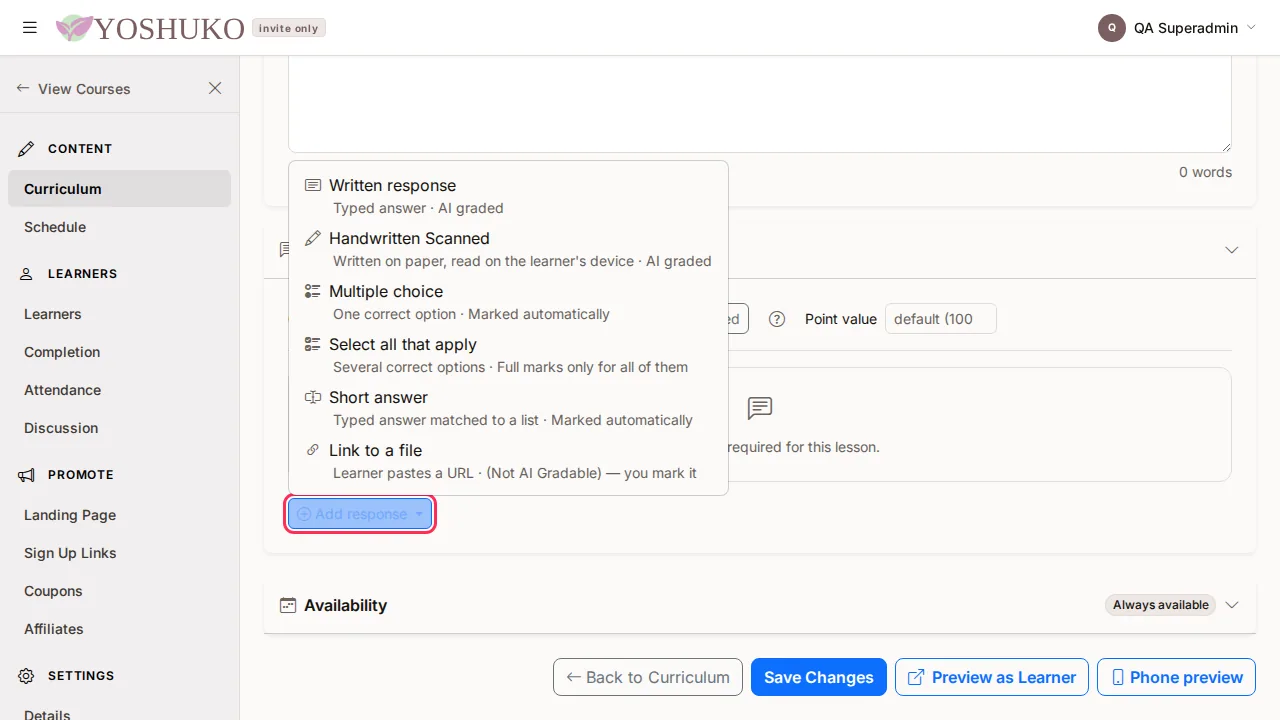
-
Fill in what the learner should answer, and press Save Changes.
You can add more than one response to a lesson; each one is its own card.
Mark against a rubric
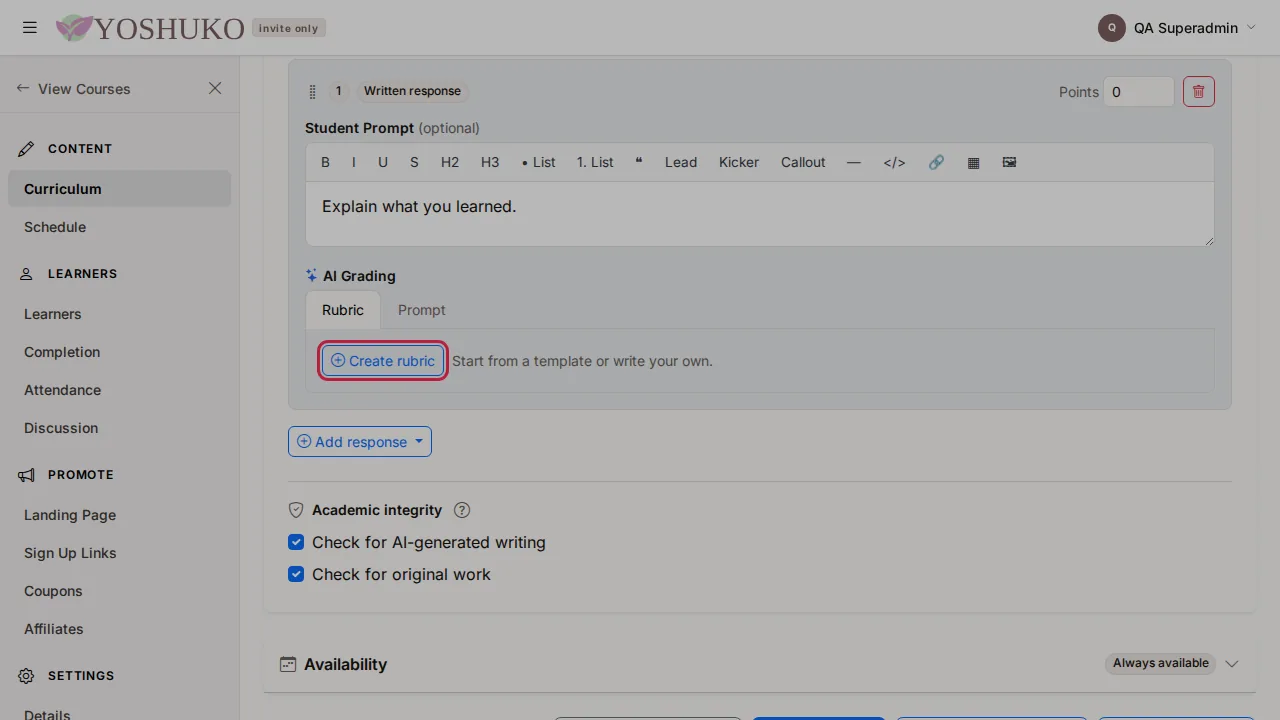
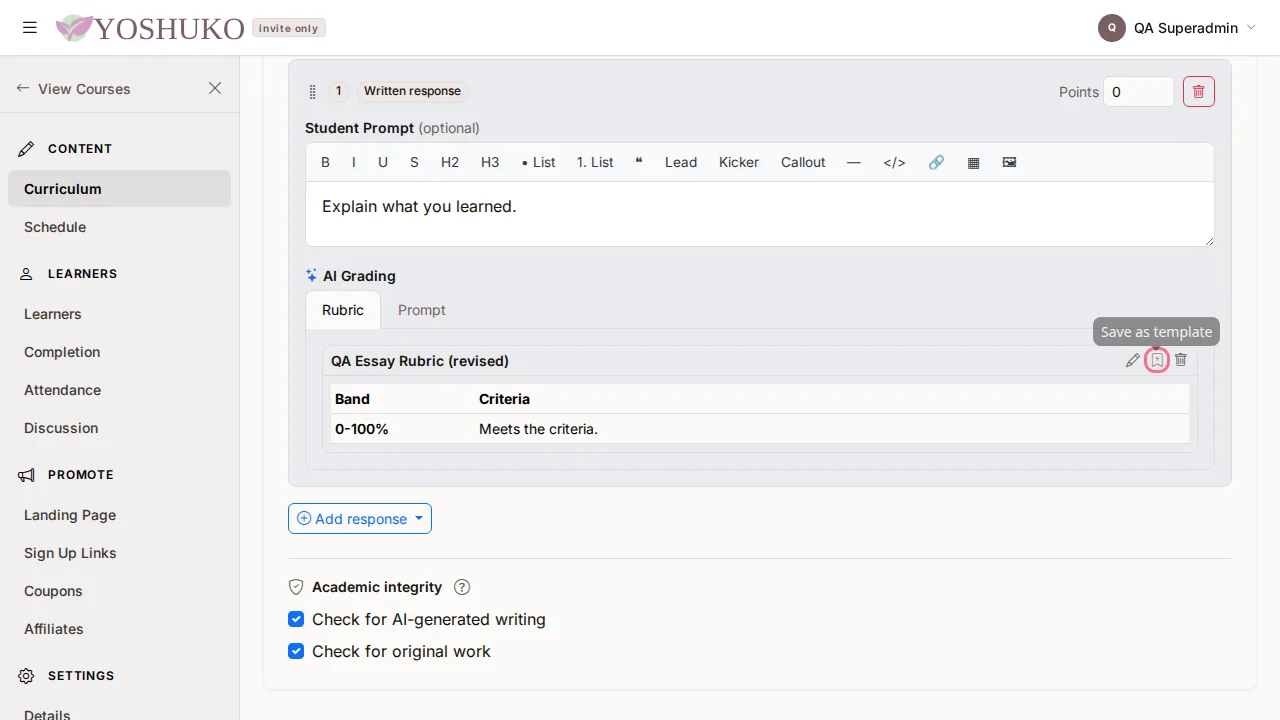
A rubric is a set of grade bands, each with the criteria for placing an answer in it. It belongs to one response and is saved with the lesson. Rubrics are set in the AI Grading part of a response card, on its Rubric tab.
Create a rubric
-
Press Create rubric.
-
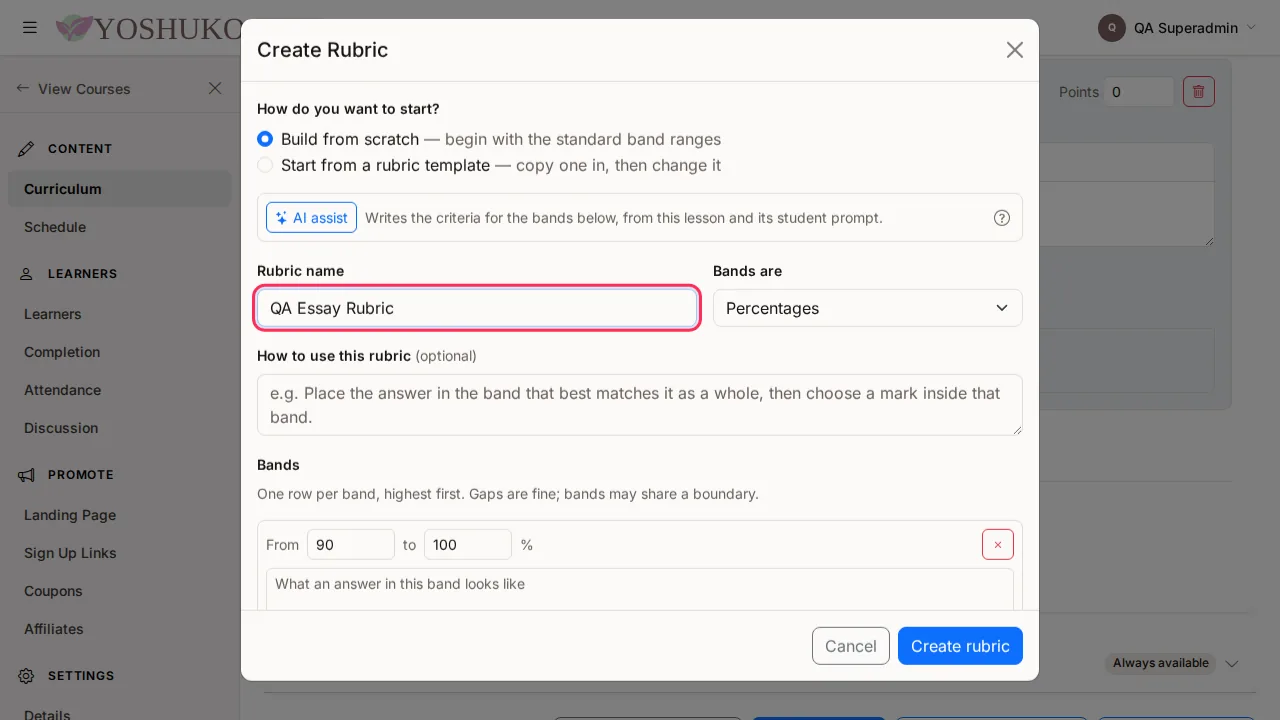
Choose Build from scratch, or Start from a rubric template and pick one. Picking another template replaces whatever is in the form.
- Enter the Rubric name, and whether Bands are Percentages or Points (for points, say what it is Out of).
-
Under Bands, give each band its range and its criteria. Add band adds another. AI assist can write the criteria for the bands you have set — it never changes your ranges.
-
Press Create rubric, then Save Changes on the lesson. Nothing is saved until you do.
Every band needs a description, and bands must not overlap. Bands that share a boundary, such as 80–90 and 90–100, are fine.
Change, reuse or remove a rubric
Once a response has a rubric, its header offers:
- Edit rubric — reopens the form; press Save rubric, then Save Changes.
- Save as template — keeps a copy you can start from on other responses in this course. Later edits to either copy do not affect the other.
- Remove rubric from this response — takes it off this response only. Press Save Changes to keep the change.
Review what learners submitted
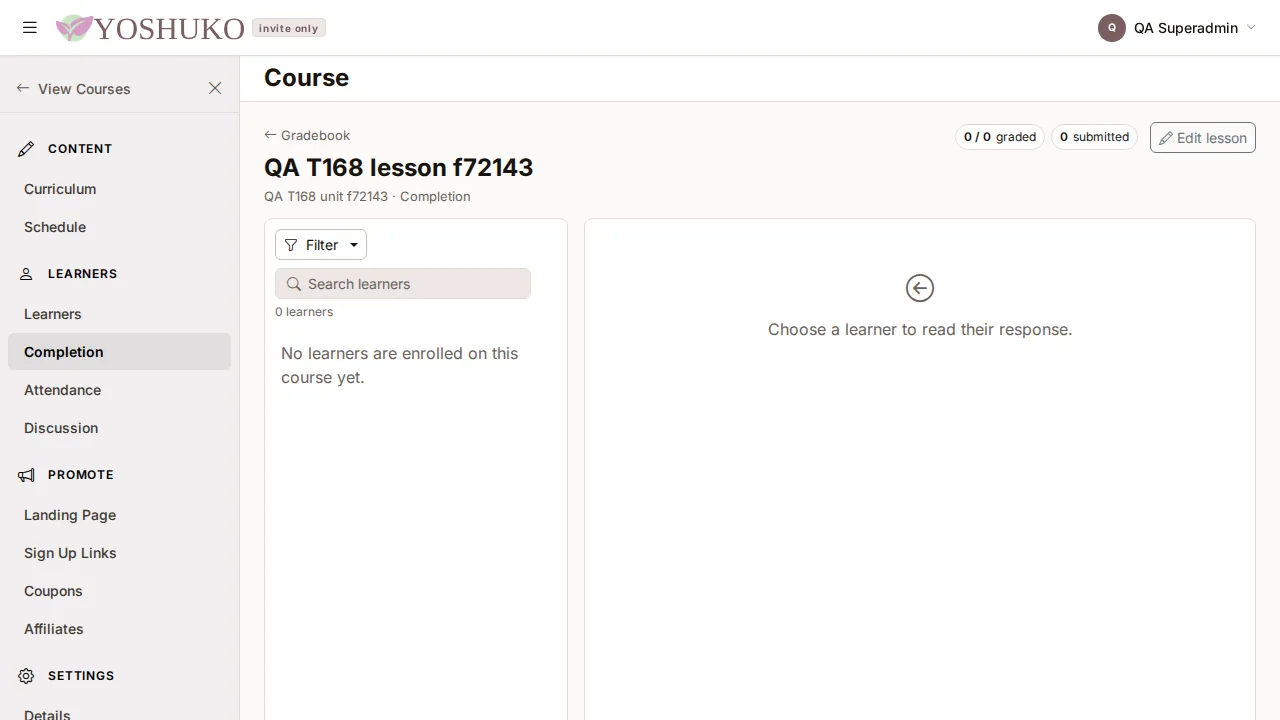
When a lesson collects responses, its editor shows Review responses, with the number waiting. Press it to open the review screen for this lesson. Marking is covered in Grading.
Decide how the whole course is graded
- Open the course's Details page (row menu → Settings → Details) and press Gradebook setup.
-
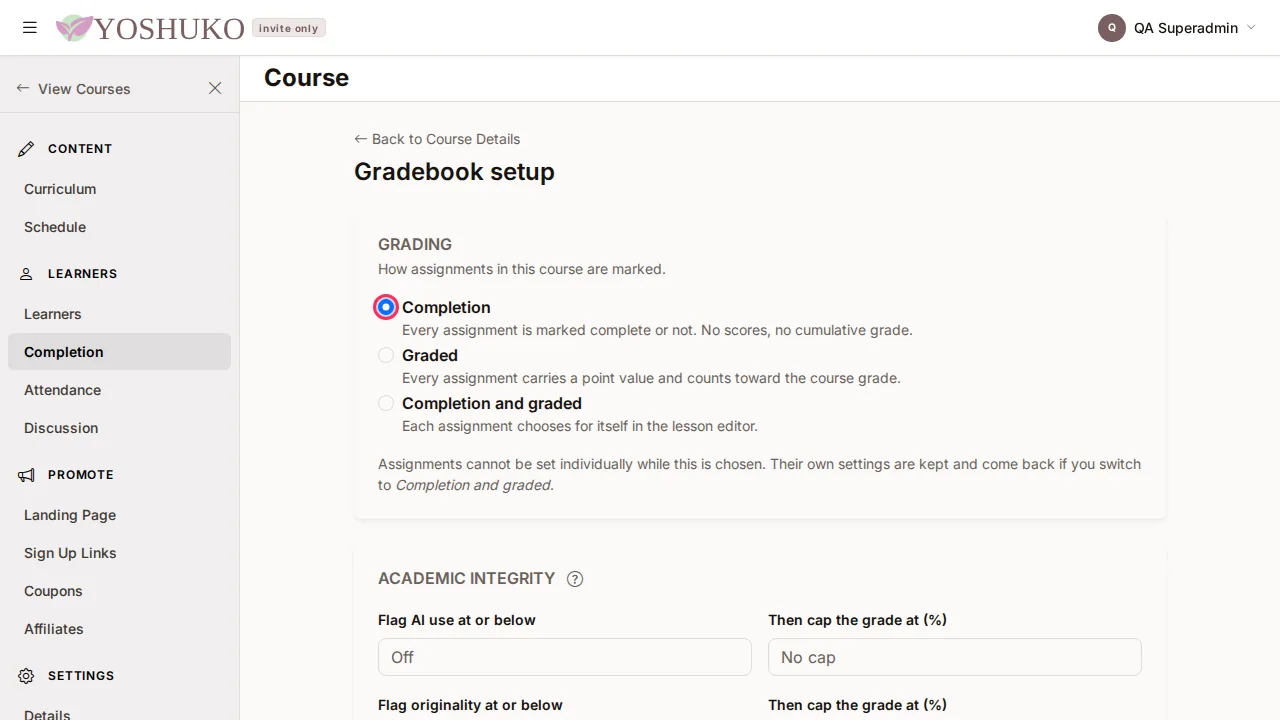
Under Grading, choose:
- Completion — every assignment is marked complete or not. No scores, no cumulative grade.
- Graded — every assignment carries a point value and counts toward the course grade.
- Completion and graded — each assignment chooses for itself in the lesson editor.
-
With a graded setting you can also set Weighting, the Grading scale and the Academic integrity checks. Press Save setup.
When the course uses Completion or Graded for everything, each lesson's own Grading choice is locked and says so: "Every assignment in this course is graded." (or completion), with a link back to Gradebook setup. Switching the course back to Completion and graded restores each lesson's own choice. Otherwise, a lesson's Grading can be Gradebook default, Completion or Graded, with a Point value.
Automate this
Assessments and assignments are lessons, so they can also be created and edited with an API key. See Build a course with the API.
If something goes wrong
| You see | What it means | What to do |
|---|---|---|
| "Title is required." beside the title, after pressing Save Changes | The lesson has no title, so nothing was saved. The field in question is marked. | Type a title and save again. |
| No Review responses button | This lesson does not collect a response yet. | Add one under Learner Response. |
Related
Giving it on paper
A multiple-choice assessment can be printed as bubble answer sheets and graded with a camera. See Paper answer sheets.