Set up your organisation
About ten minutes. Your organisation is the business your courses are published under — it holds your courses, your brand, your payments and your team. You name it once, confirm a real person is behind it, and then a five-step guide takes you to your first enrolment.
Before you start
- A confirmed creator account — see Create your account.
- A mobile phone that can receive a text, or a card to start a paid plan.
Name your organisation
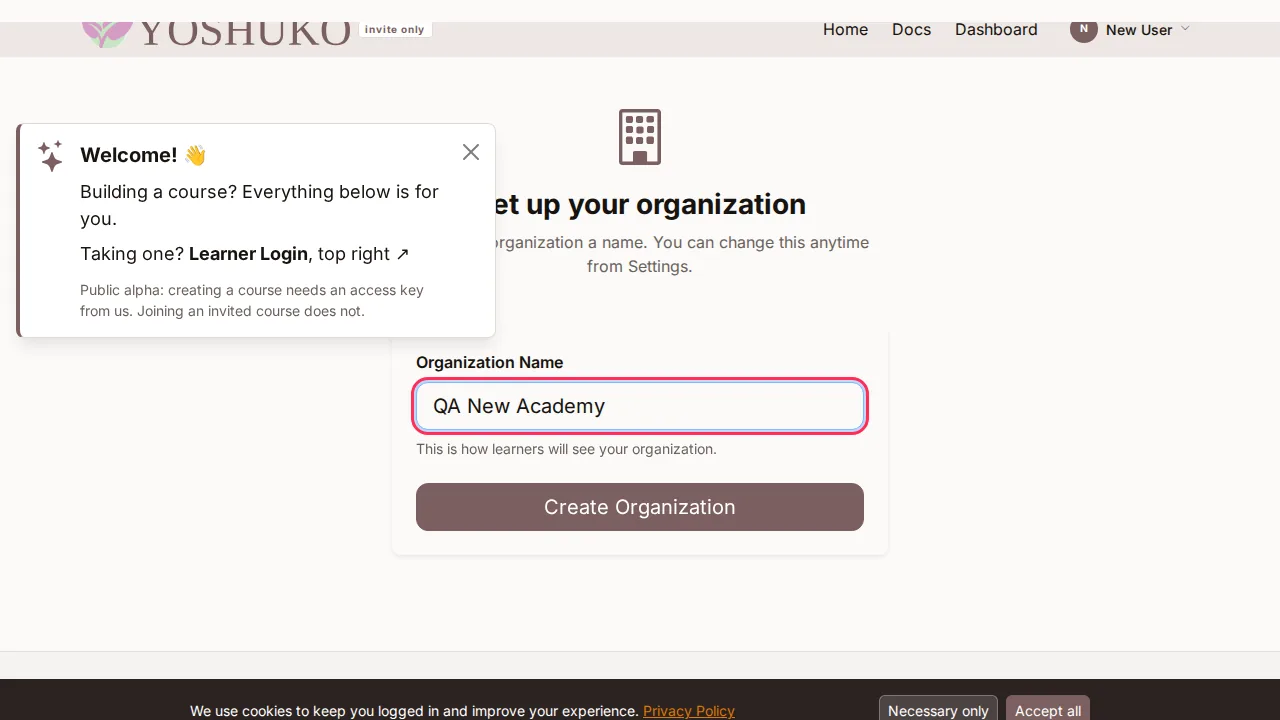
When you first reach the creator studio without an organisation, Yoshuko shows Set up your organization.
-
Type a name in Organization Name — for example the name your learners know you by. You can change it at any time from Settings.
-
Press Create Organization.
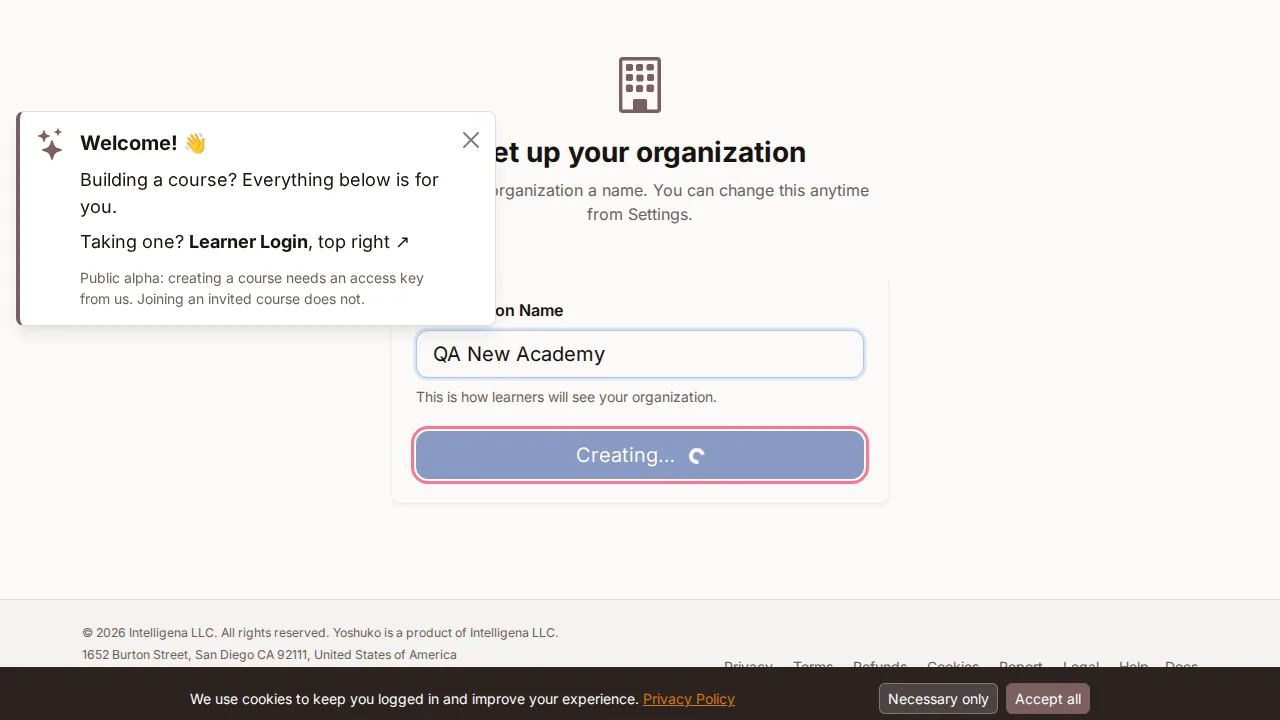
You land on My Courses, the home screen of the creator studio.
Joining someone else's organisation instead?
If a colleague gave you a Join Code, enter it when you sign up (under Have a Join Code?) and you join their organisation rather than creating one.
Prove a real person is behind it
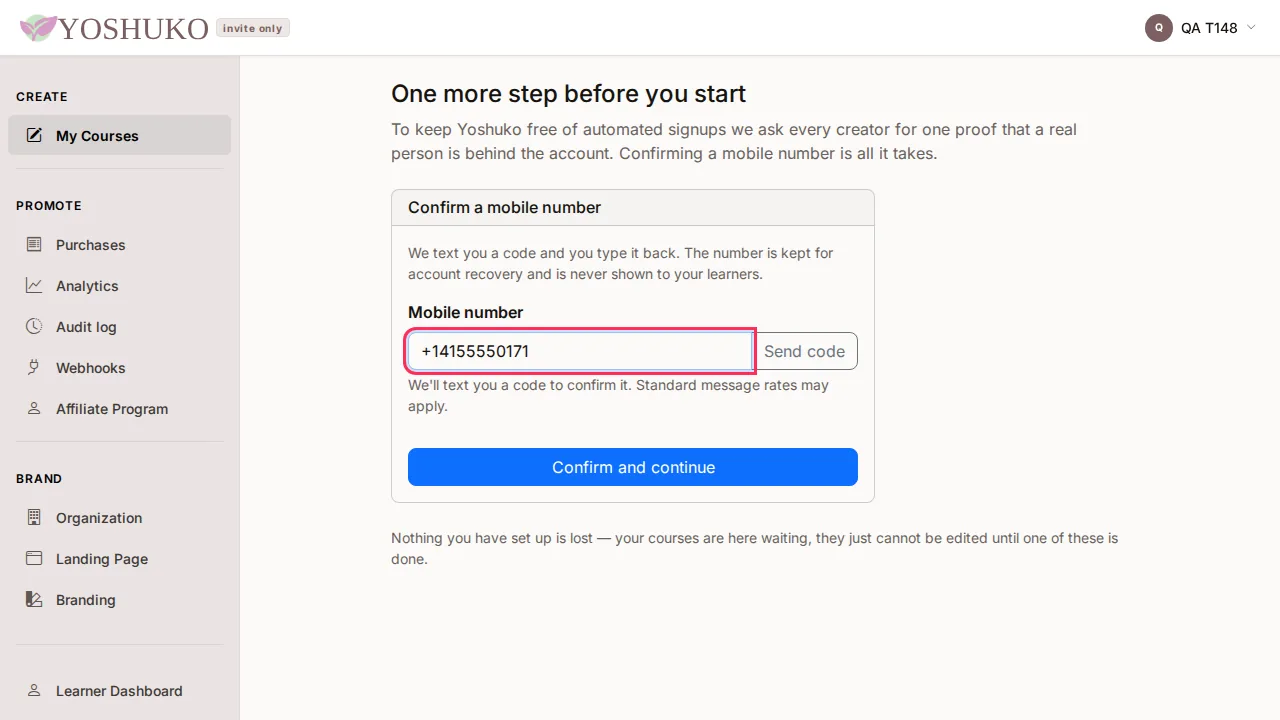
To keep Yoshuko free of automated sign-ups, every organisation needs one proof of person before the studio can be used. If yours has neither yet, the studio shows One more step before you start. You only need one of the two:
Confirm a mobile number
- Enter your Mobile number and press Send code.
- Type the code you are texted.
- Press Confirm and continue.
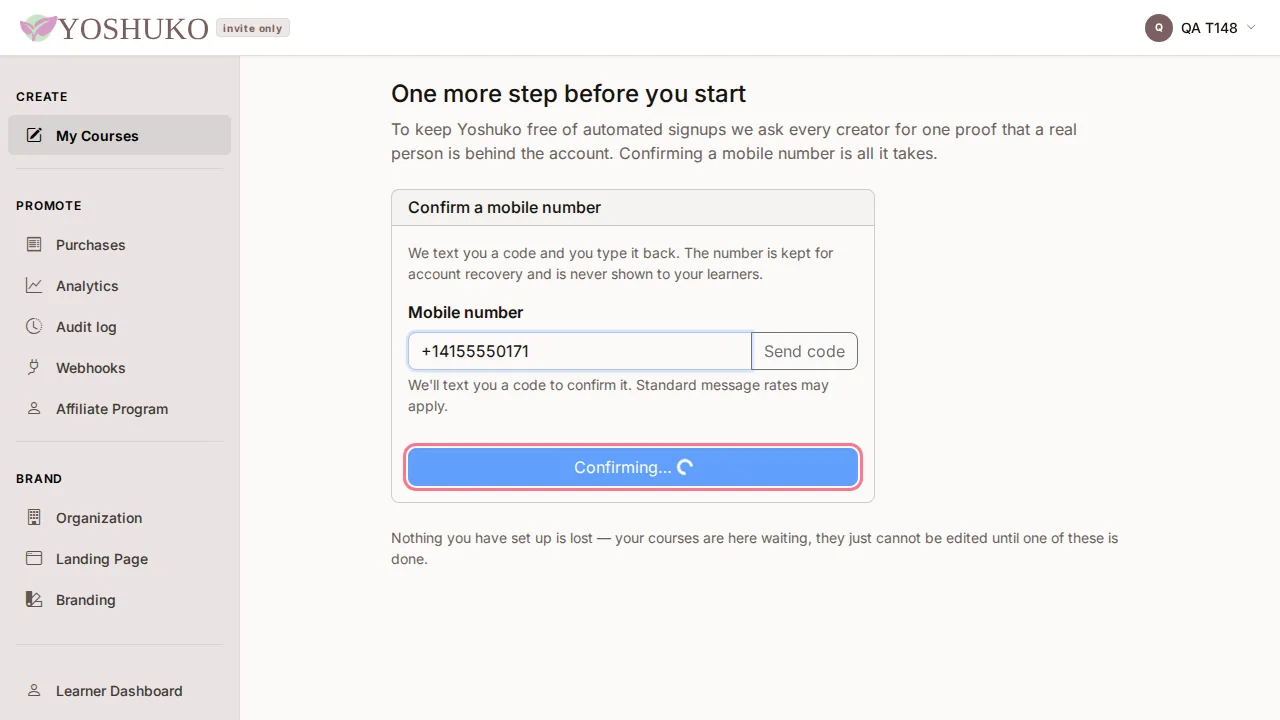
Yoshuko says Thanks — your number is confirmed and takes you to your courses. The number is kept for account recovery and is never shown to your learners.
Or start a paid plan instead
Prefer not to give a mobile number? Press Choose a plan. A card payment that clears proves the same thing, and your account is ready as soon as the first payment goes through. See pricing.
Nothing you have already set up is lost while you do this — your courses wait for you, they just cannot be edited until one of the two is done.
Work through the setup guide
While setup is unfinished, My Courses shows a card called Finish setting up your organisation with how many steps are done. Press Continue setup to open the guide.
The guide, Set up your organisation, lists five steps to your first enrolment and shows your progress (for example 2 of 5 done). Each step's button opens the screen where that thing is done, and brings you back to the guide afterwards.
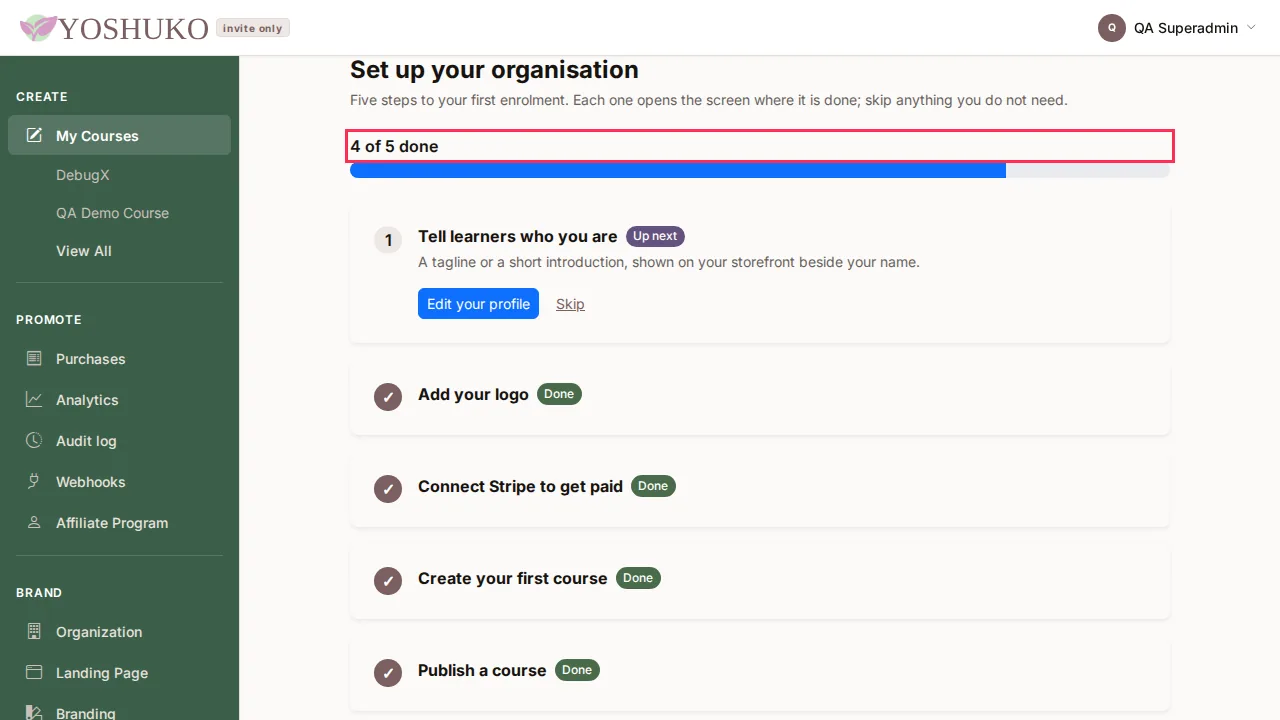
| Step | Its button | What it is for |
|---|---|---|
| Tell learners who you are | Edit your profile | A tagline or short introduction shown on your storefront beside your name |
| Add your logo | Upload a logo | Your logo on your storefront, on sign-in, and in the emails learners get |
| Connect Stripe to get paid | Connect Stripe | Payments for your courses go straight to your own Stripe account |
| Create your first course | Create a course | A title is enough to start — see Build your first course |
| Publish a course | Open the course | Learners can enrol once a course is published |
Each step is marked Up next, Done or Skipped. A step is marked done automatically when the thing it asks for exists — you never tick it off yourself.
Skip anything you do not need. Press Skip on a step — for example Connect Stripe if you only give courses away. Changed your mind? Press Undo skip and the step is offered again.
When every step is done or skipped, the guide says Your organisation is set up. Press Go to My Courses to carry on.
Automate this
An API key with the Organization settings permission can read and change organisation settings such as the default currency. See Build a course with the API.
If something goes wrong
| You see | What it means | What to do |
|---|---|---|
| Your setup steps could not be loaded. | The guide could not reach the server | Press Try again |
| One more step before you start every time you open the studio | Your organisation has no confirmed number or cleared payment yet | Confirm a mobile number, or start a paid plan |
| No Finish setting up your organisation card on My Courses | Setup is already finished, or everything was skipped | Nothing to do |