Attendance and badges
Every course has an attendance register you can tick by hand. You can also give every learner a QR badge and let a tablet at the door — or your own device, pointed at the room — read badges and mark learners present. Setting up takes about five minutes.
Before you start
- You need to be a creator on the course, and the course needs enrolled learners. See Enrol learners and cohorts.
- For the kiosk, a device with a camera and a web browser. It does not need to be signed in to Yoshuko.
Take attendance by hand
- Open the course and, in the course menu under Learners, choose Attendance.
- Tick a learner's box for a day to mark them present; untick it to take the mark away. Each tick saves straight away.
- Use the arrow buttons to move to the previous or next period.
The register works whether or not badge attendance is turned on.
Set up attendance for the course
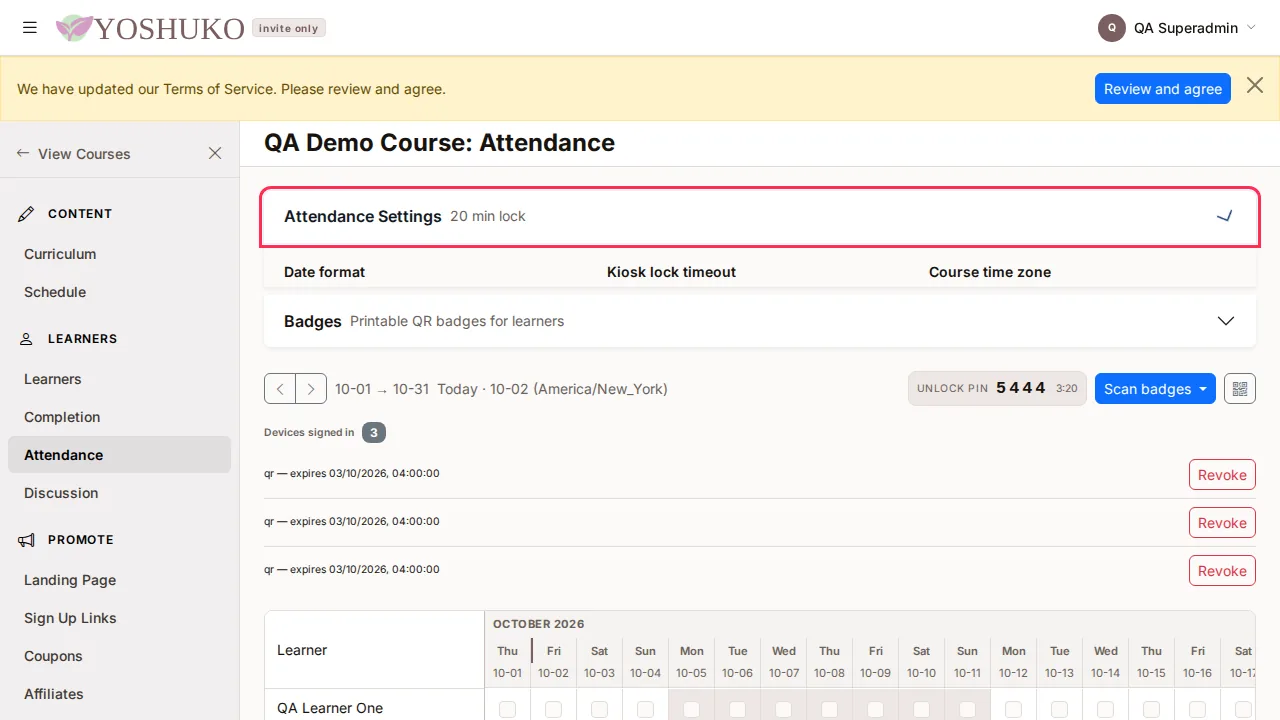
- On the Attendance screen, open Attendance Settings.
- Choose:
- Date format — MM-DD-YYYY or DD-MM-YYYY, for the column headings.
- Kiosk lock timeout — 10 minutes to 60 minutes. The kiosk locks after this long with no activity.
- Course time zone — decides which day a mark is recorded against. It is also on the course's Details and Schedule screens.
- Enable badge attendance for this course — turn this off and the scanning screens are disabled and any device links stop working immediately. The register is unaffected.
- Press Save settings. Saved appears beside the button.
Print badges
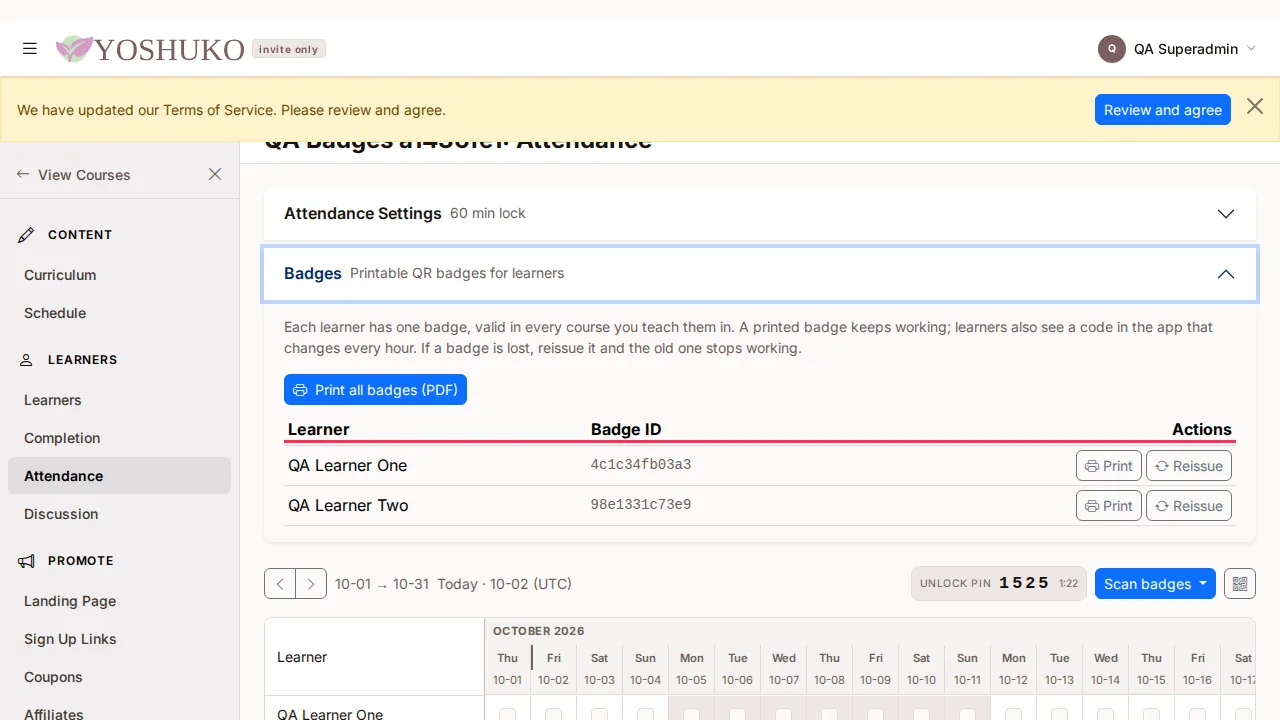
Every learner has one badge for your organisation, valid in all of your courses. Open Badges on the Attendance screen.
- The list shows each enrolled learner and their short badge ID.
- Press Print beside a learner for one badge, or Print all badges (PDF) for the whole class. A PDF downloads: cards with the learner's name, your organisation's name and the QR code, with cut marks. Open it and print as usual.
Printing is safe to repeat. A printed badge never changes, so printing a learner's badge again gives the same code, and a badge handed out last term still works. Badges are created the first time they are printed or shown.
Replace a lost badge
- Press Reissue beside the learner.
- Confirm. The old badge stops working straight away, in every course you teach that learner in, and a new one exists. Print it afterwards.
Keep current badge changes nothing.
The code in the learner's app
Learners also see their badge in the Yoshuko app, under Settings → Attendance badge. That code changes every hour, so a screenshot cannot be shared around. Nothing for you to do: both kinds work at the kiosk and in classroom mode. See Your attendance badge.
Open the kiosk on a tablet at the door
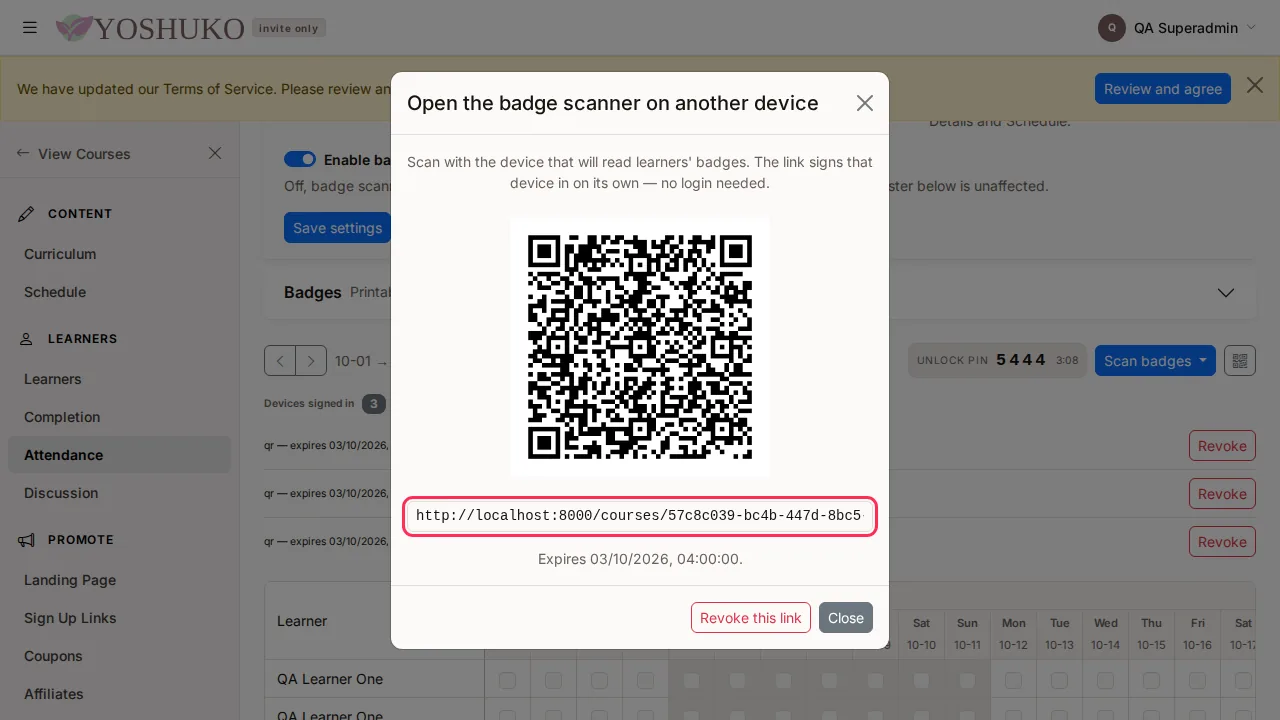
- On the Attendance screen, press Scan badges and choose Individual to open it on this device — or press the QR code button (Open on another device) to open it somewhere else.
- In Open on another device, scan the QR code with the tablet, or type the link shown under it. The link signs that device in on its own — no login needed. It shows when it expires.
- On the tablet, allow the browser to use the camera.
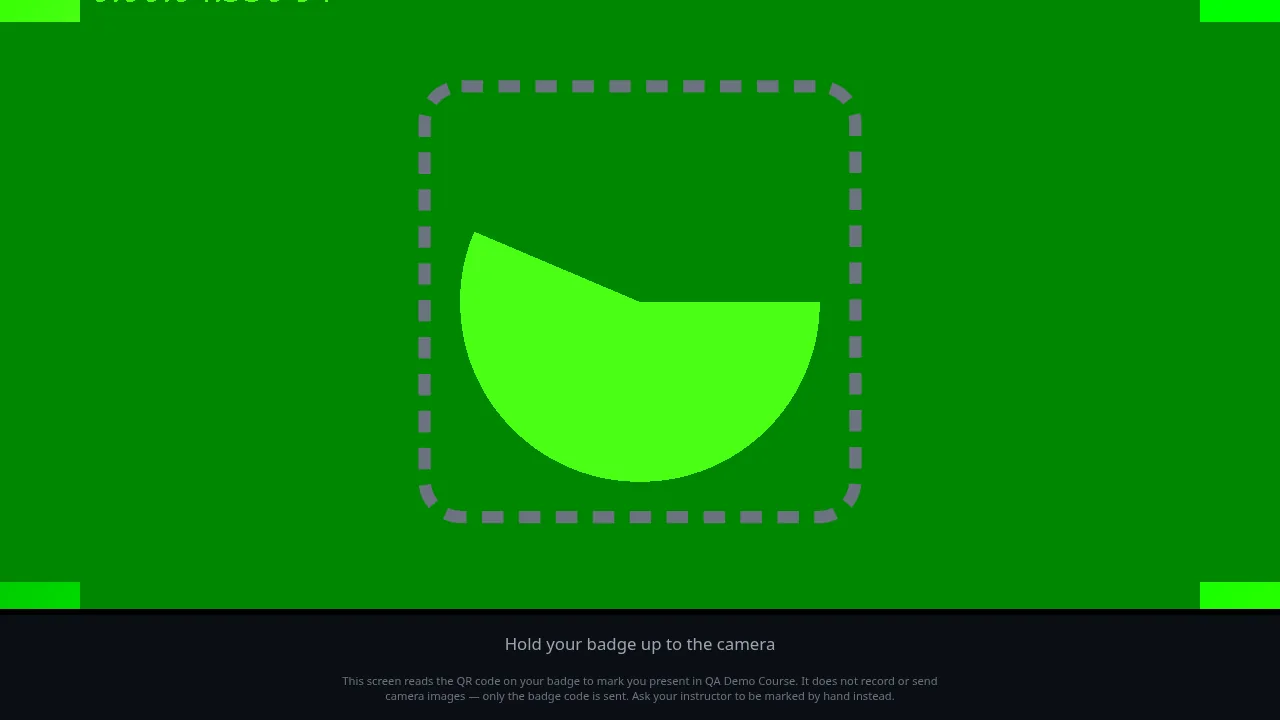
The kiosk shows Hold your badge up to the camera. Learners hold up their printed badge, or the code on their phone.
The unlock PIN
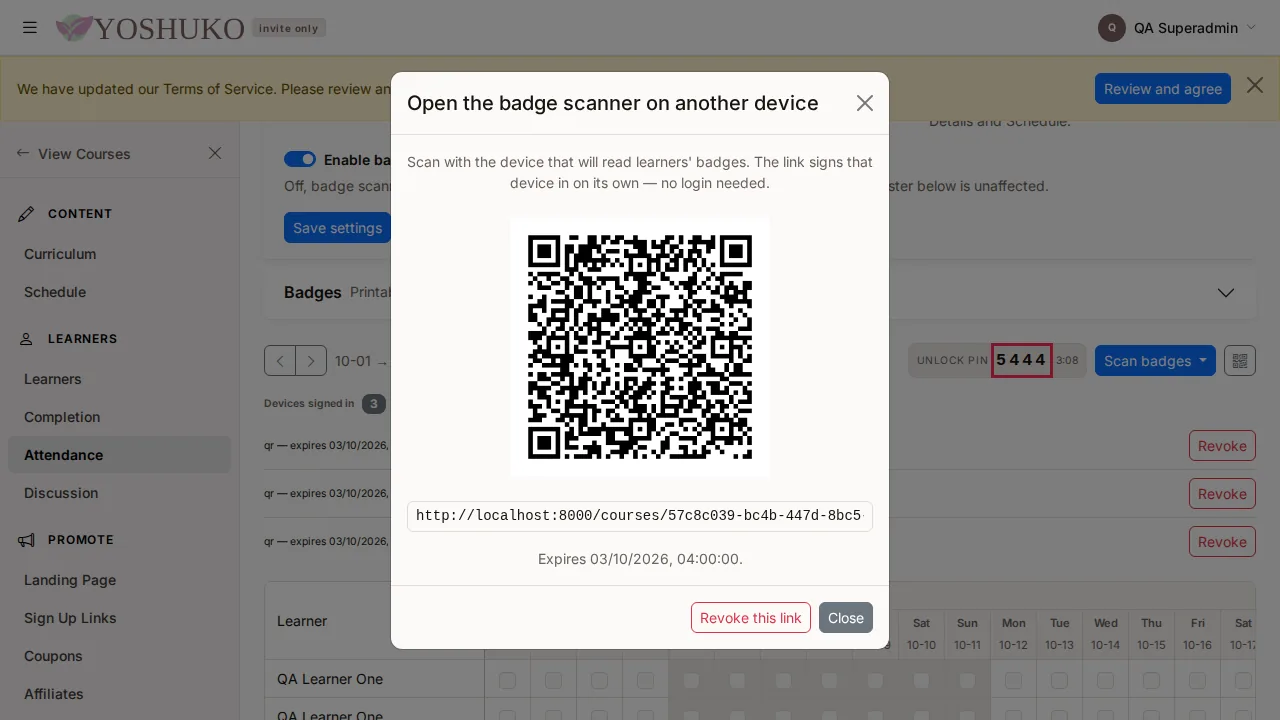
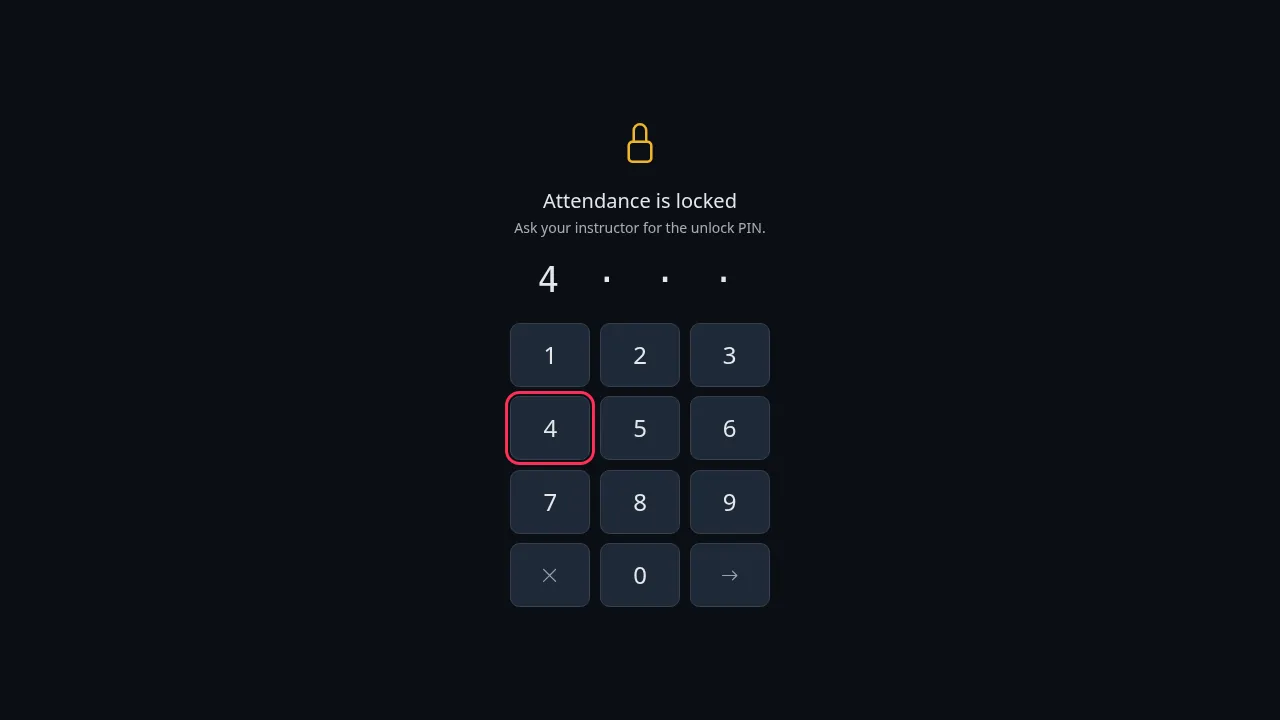
The Unlock PIN in the Attendance toolbar is a four-digit code that changes every five minutes. When the kiosk has been idle past its lock timeout it shows Attendance is locked. Read the PIN off your Attendance screen and type it on the kiosk's keypad to carry on.
Stop a device from taking attendance
Devices signed in on the Attendance screen lists every device currently holding a kiosk link, with when its link expires.
- Press Revoke beside the device. (From the QR dialog, Revoke this link does the same for the link you just made.)
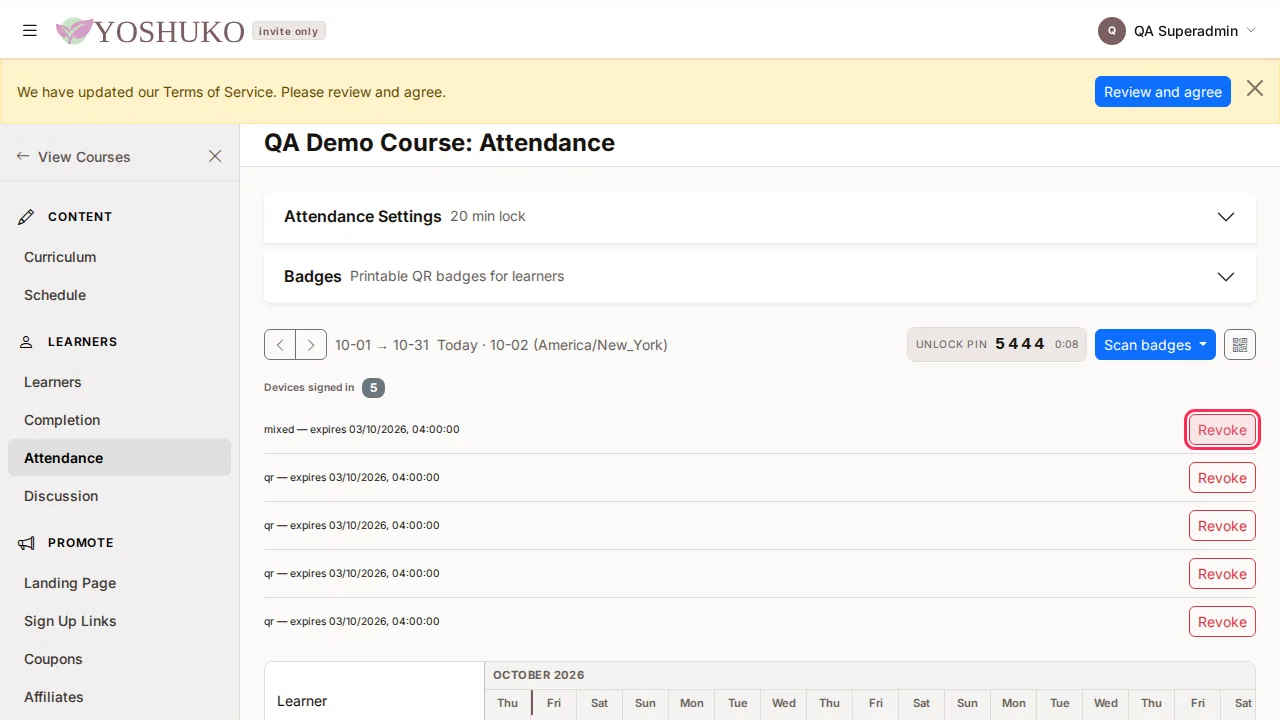
That device stops marking straight away and shows This link has ended.
What learners see at the kiosk
- A learner holds up a badge. The kiosk shows Welcome and their name, then Thanks, … — Next person, please step up.
- They are marked present for today — "today" meaning the date in the course time zone, not the tablet's.
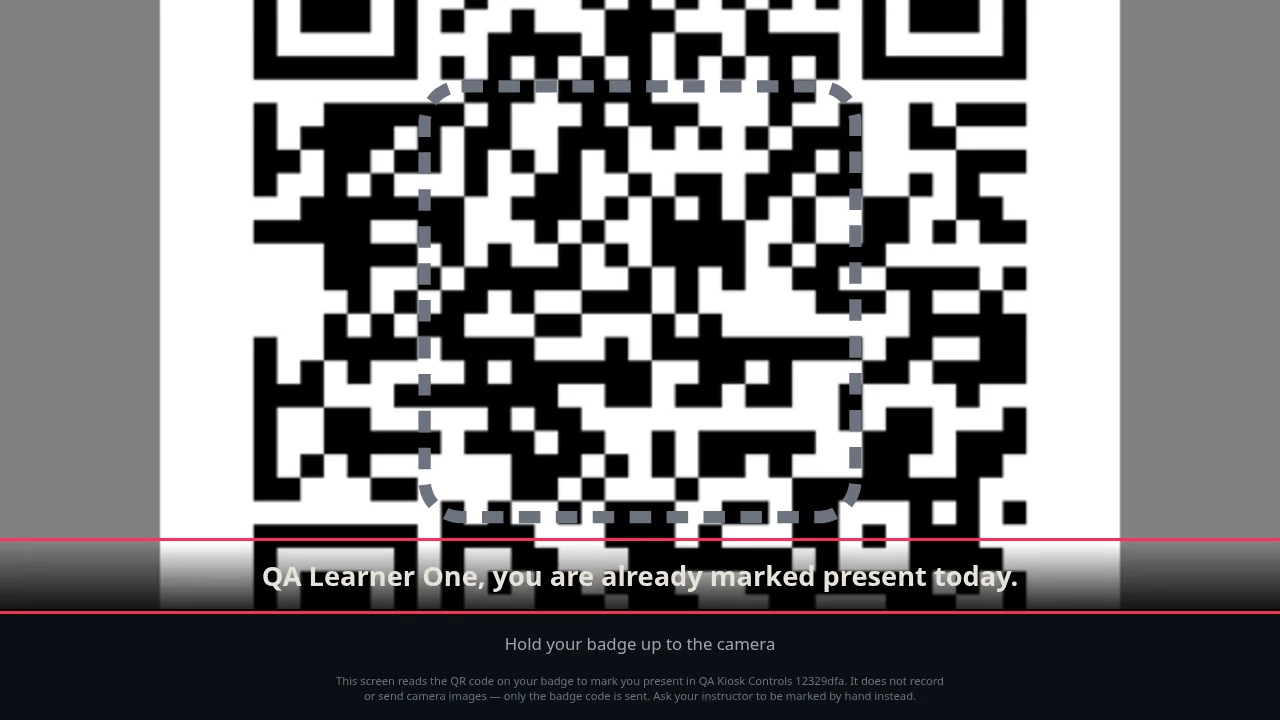
- If the same badge is held up again the same day, the kiosk says they are already marked present today. They are not marked twice.
A badge the kiosk does not accept
The kiosk says why, in words, and marks nobody:
| The kiosk says | Why |
|---|---|
| Badge not recognised | The code is not a badge for this course. |
| That app code has expired — refresh it in the app | An app code more than a little over an hour old. |
| That badge has been replaced | You reissued it. |
| Not enrolled in this course | A real badge, but the learner is not on this roster. |
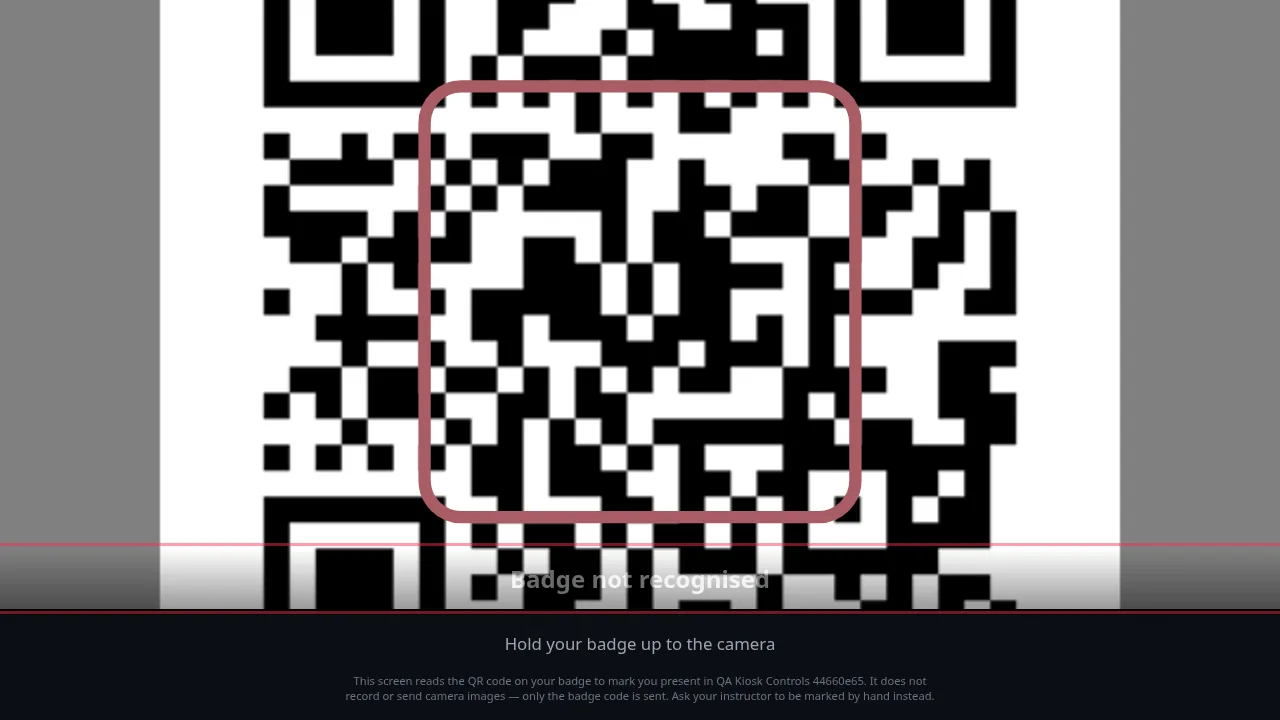
Any QR code that is not a Yoshuko badge is ignored without a message.
Scan the whole room: classroom mode
Scan badges on the Attendance screen has two choices:
- Individual — the kiosk described above, one device at the door.
- Classroom — use this device's camera yourself. Hold it towards the room and learners show their badges one after another; each is marked present for today and Present today N / total counts up. Only you, signed in as a creator of the course, can open it; there is no link to share.
Classroom mode never overrides a mark you have made by hand.
When classroom mode cannot start
| You see | What to do |
|---|---|
| Badge attendance is switched off for this course. | Turn on Enable badge attendance for this course in settings. |
| No learners are enrolled in this course yet. | Enrol learners first. No camera is opened for an empty room. |
| Could not load the roster. | Check your connection and open Classroom again. |
| Camera access was denied. | Allow the camera for this page and open Classroom again. |
| This browser cannot scan badges. | Use a current Chrome, Edge, Safari or Firefox over a secure (https) connection, or use the kiosk. |
Closing the window stops the camera.
How badges work, and what is stored
- The camera never uploads anything. The page reads the QR code on the device itself and decodes it there. The only thing sent is the badge code, and only for a badge the device already recognises.
- Devices never hold usable badges. A kiosk is sent a scrambled fingerprint of each valid code, enough to say "this is Ada's" but not enough to make a copy. Yoshuko checks the real code again before it writes a mark.
- Marks. A badge scan is recorded as a QR mark; a mark you tick is recorded as manual and is never overwritten by a scan.
- Face recognition. Earlier versions recognised faces. That set-up screen is gone and learners are not asked to enrol their face. Face data stored earlier is deleted when a learner's enrolment ends, as before; the app no longer offers a way to add more.
Learners see this notice on the kiosk: "This screen reads the QR code on your badge to mark you present in [course]. It does not record or send camera images — only the badge code is sent. Ask your instructor to be marked by hand instead."
If something goes wrong
| You see (on the kiosk) | What it means | What to do |
|---|---|---|
| This link has ended | The link expired, was already used, or was revoked. | Open the kiosk again on the Attendance screen and scan the new code. |
| Badge attendance is off | Badge attendance is switched off for this course. | Turn on Enable badge attendance for this course, then press Try again on the kiosk. The same link works again. |
| … your instructor has marked you absent today | You un-ticked this learner by hand today; a scan never overrides a hand-set mark. | Tick them in the register if they are here. |
| Waiting for camera permission | The browser is asking to use the camera. | Choose Allow, then press Try again. |
| No camera | The device would not give access to its camera. | Check the browser's camera permission, or use another device. |
| That PIN did not work. | The PIN was wrong or had already changed. | Read the current PIN off the Attendance screen and try again. |
| Too many attempts. Ask your instructor for a new code. | Too many wrong PINs. | Open the kiosk again and scan the new code. |
| Could not save | The mark did not reach Yoshuko. | The learner can hold the badge up again, or mark them by hand. |